


This shop has been compensated by Collective Bias, Inc. and its advertiser. All opinions are mine alone. #ReadySetServe #CollectiveBias In a small community, potlucks are a way of life. I love them so much because, you can have a little taste of so many different items and, of … [Read more...]
Searching For The Next Johnsonville Grillmaster with Game Day Nachos

Thanks to Johnsonville Sausage for making this post possible. All text and opinions are my own. When I think about game day, I want food that I don't have to think too much about...food that isn't complicated. I love grilled Italian sausages, but my absolute favorite is to … [Read more...]
A Crave-worthy Cold Weather Comfort Dish
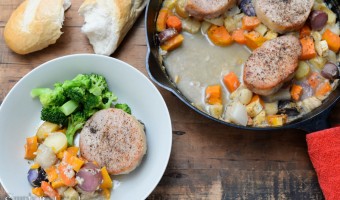
Making wintertime meals can be tough. Kids are in school and have activities, games, and homework that can really stress a family's schedule. It's pretty easy, then, for mealtimes to fall by the wayside. For me, winter meals are all about comfort and convenience and my Pork Chop … [Read more...]
Applewood Bacon Spanish Tortilla
This shop has been compensated by Collective Bias, Inc. and its advertiser. All opinions are mine alone. #BaconDoneWright #CollectiveBias Bacon! It's possible that there isn't a better smell to wake up to! I mean, seriously, who doesn't love a yummy breakfast of eggs, … [Read more...]
White Peppermint Holiday Biscotti
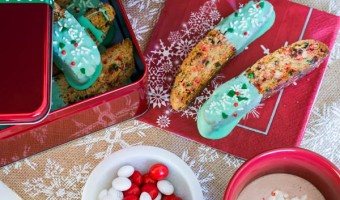
This shop has been compensated by Collective Bias, Inc. and its advertiser. All opinions are mine alone. #BakeInTheFun #CollectiveBias In a few short weeks, the holiday season will be upon us and, with it, all of the yummy baked treats that we look forward to all year long. … [Read more...]
Fall Harvest Tablescape with M&M’s® Pecan Pie

This shop has been compensated by Collective Bias, Inc. and its advertiser. All opinions are mine alone. #BakeInTheFun #CollectiveBias Fall will quickly be upon us and with it the fall harvest. That means that it's time to reach for a freshly picked apple, time to break out … [Read more...]
Crazy Days and Busy Mealtimes
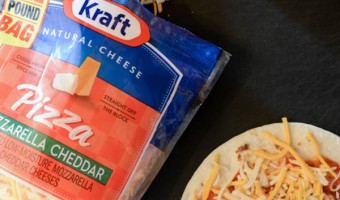
This shop has been compensated by Collective Bias, Inc. and its advertiser. All opinions are mine alone. #NaturallyCheesy #CollectiveBias The past three weeks in our house have been trying to say the least. Back-to-school season, a sick child, and looming deadlines have left … [Read more...]
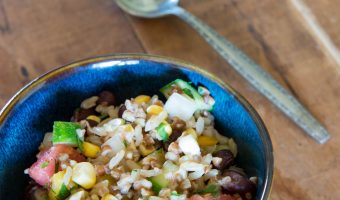
Quick and Effortless Meals for the Beach!
This shop has been compensated by Collective Bias, Inc. and its advertiser. All opinions are mine alone. #EffortlessMeals #CollectiveBias For about four years now, we have been fortunate enough to head to the beach for one week each summer. We always have a great time with the … [Read more...]
Working Lunches with STOUFFER’S® Fit Kitchen
This shop has been compensated by Collective Bias, Inc. and its advertiser. All opinions are mine alone. #PowerfulProtein #CollectiveBias Working at home has it's challenges. Even though I photograph and write about food for most of the day, it can often be difficult to find … [Read more...]
Firing up the Grill for One More Year
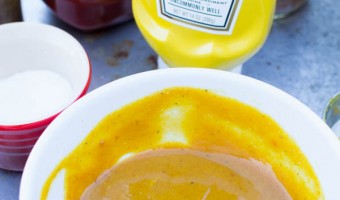
This shop has been compensated by Collective Bias, Inc. and its KetchupsNewMustard.com. All opinions are mine alone. #KetchupsNewMustard #CollectiveBias Today is my birthday and, whereas Beth would prefer to have less to do on her special day, my joy in life is cooking and … [Read more...]
Peppermint Brownies
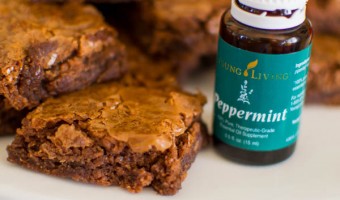
My kids love special treats when they get home from school. I have been trying to get in the habit of having a special sweet treat for them about once a week for their after school snack. Their excitement when they hit the front door and smell something baking is so much … [Read more...]
Classic Fish and Chips from Sam’s Club
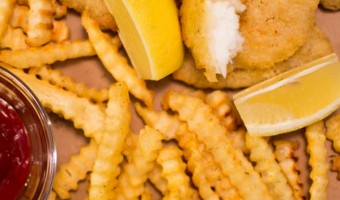
This shop has been compensated by Collective Bias, Inc. and its advertiser. All opinions are mine alone. #SamsClubSeafood #CollectiveBias Easy weeknight meals can be tricky. I want food that I can feel comfortable feeding my family and that fits with my general philosophy of … [Read more...]
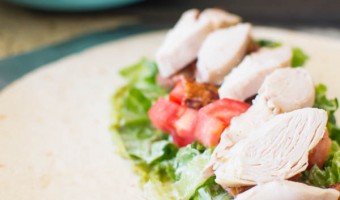
Chicken Cobb Slider
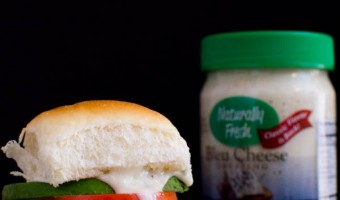
This post is part of the blogger program by Naturally Fresh® and The Motherhood, who compensated me for my time and the development of this recipe. Opinions, experiences and photos shared here are my own, and I hope you enjoy them. The end of January every year brings an … [Read more...]
Big Game Taste Off: Team Chocolate vs. Team Rainbow
This shop has been compensated by Collective Bias, Inc. and its advertiser. All opinions are mine alone.#BigGameTreats #CollectiveBias It's playoff season! That means that the games, and the gametime parties, get more serious than ever! After all of the heaviness of the salty … [Read more...]
Mushroom Oat Risotto with Quaker Steel Cut Oats
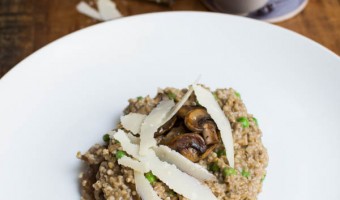
This shop has been compensated by Collective Bias, Inc. and Quaker. All opinions are mine alone. What better way to get a smart start to the new year than by taking a fresh look at oatmeal? Traditionally, when you think of oatmeal, your mind races to breakfast, but I wanted to … [Read more...]
- 1
- 2
- 3
- …
- 10
- Next Page »