


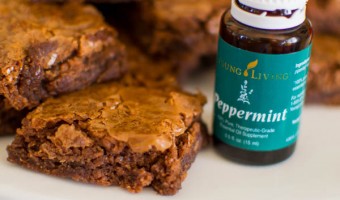
My kids love special treats when they get home from school. I have been trying to get in the habit of having a special sweet treat for them about once a week for their after school snack. Their excitement when they hit the front door and smell something baking is so much … [Read more...]
Beachy Vacation Pudding with International Delight
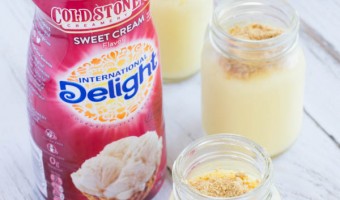
This is a sponsored conversation written by me on behalf of International Delight. The opinions and text are all mine. It's vacation season! Did you know that almost half of American vacation-goers plan trips to the beach during the summer? This makes the beach, by far, … [Read more...]
Slowing Down the Pace with Klondike Kandy Bars

This shop is part of a social shopper marketing insight campaign with Weave Made Media® and Klondike, but all my opinions are my own. #weavemade #KandyBar #ad http://my-disclosur.es/RgFrEH I am not usually the most relaxed person. I like to keep busy, I like to keep moving, … [Read more...]
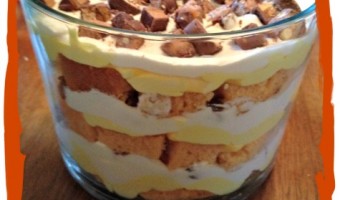
Dessert Fun with Individual TWIX Bites Trifles
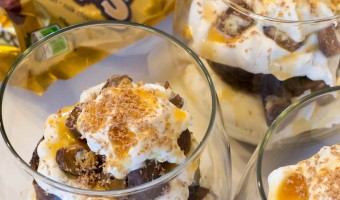
I am a member of the Collective Bias® Social Fabric® Community. This shop has been compensated as part of a social shopper amplification for #CollectiveBias and its advertiser. #EatMoreBites I have a serious love for trifles. Maybe you have caught a few of them I have shared … [Read more...]
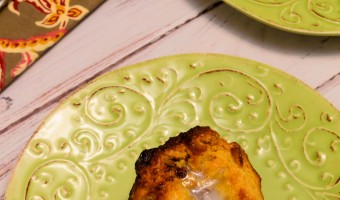
3 Musketeers Pie
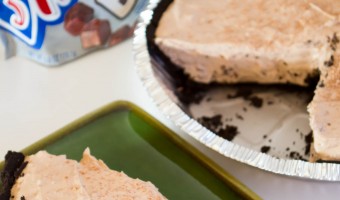
In the South, we love our pies! One of the most iconic pies of the American South is the peanut butter pie. Much to my surprise, Beth has never even heard of the treat. I guess it shouldn't have been that much of a surprise. She grew up in the northern part of the South to … [Read more...]
Panettone Bread Pudding
Panettone is kind of a new thing in our house. I've been curious about it for years, but decided that this was the year to try it. In a lot of ways, it's like a fruitcake made with a light yeast bread, as opposed to the dense quick bread that we typically associate with … [Read more...]
It’s Snowing OREO Cookie Balls

We are excited to with OREO on a sponsored campaign to feature their OREO Cookie Ball Recipe! Are you getting ready for the holiday season? With Thanksgiving being later this year it feels like we need to get started on holiday planning a little earlier. The fall air here in … [Read more...]
A #SpookyCelebration with Halloween Recipes #shop
I am a member of the Collective Bias® Social Fabric® Community. This shop has been compensated as part of a social shopper insights study for Collective Bias and their client to create Halloween recipes. We were a bit late getting up Halloween decorations this year. I half … [Read more...]
International Delight’s Pin 2 Win Sweeps

Beth has long said that I think a little off-kilter. My brain just operates in a way that is foreign to most people. The is particularly true when it comes to food. When most people look at coffee creamer, they see a coffee flavoring. I see ice cream floats and pepper … [Read more...]
Tropical Traditions Coconut Oil Triple Fruit Foster Sundae
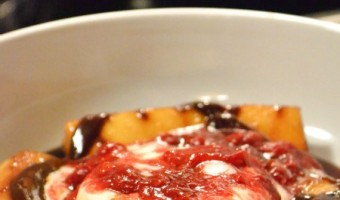
We are excited to work with Tropical Traditions on a sponsored review of their Coconut Oil! Details ... This Tropical Traditions Gold Label Virgin Coconut Oil is a truly unrefined coconut oil. This coconut oil is made on Mt. Banahaw and surrounding areas from organic … [Read more...]
Tiramisu Lightened up for Valentine’s Day
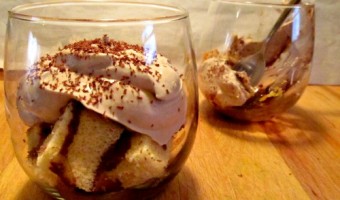
Happy Valentine's Day!! Can I just tell you that it has been a very long Beth Week. Our 10th wedding anniversary was on Sunday, Beth turned 24 again on Tuesday, and today is Valentine's Day. After a week of planning surprises and special stuff for my sweetie, I am just a … [Read more...]
Betty Crocker Shake-N-Pour Dessert Mixes
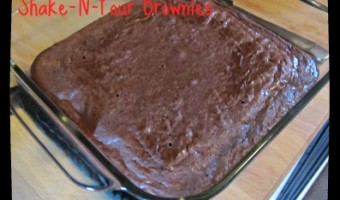
Details ... These mixes are so easy (and fun) to make that even your kids will want to get in on the action. Simply add water to the dessert mix, shake, and pour into your favorite baking pan. In a matter of minutes you and your family can enjoy that same taste you … [Read more...]
Firecracker Pizza Brownie
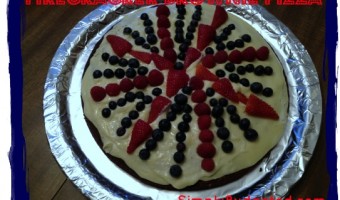
So back before Memorial Day, Trisha at posted her Red, White, and Blue Pizza Recipe over at Guilty and Guilt Free. I loved the idea as we were headed to my parents for Memorial Day and the only dessert my brother eats is brownies. (Yes, he is odd like that.) Well I had it all … [Read more...]
COOL WHIP Mint Chocolate Trifle Recipe

Whipped Topping and trifles are like a peanut butter and jelly to me. They go together perfectly. I was planning a dessert for Brian's Mom's belated birthday celebration. I was thinking about a cake and then I decided I wanted to make a trifle. I asked Brian what his mom's … [Read more...]
The Great Food Blogger Cookie Swap: Orange Pecan Cookies
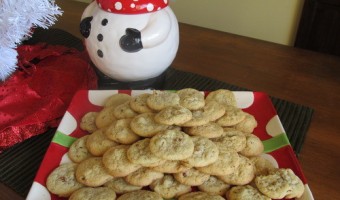
This year we participated in The Great Food Blogger Cookie Swap. We aren't really food bloggers in that we don't only blog about food but we do loving sharing our recipes and this was a great excuse to make a new cookie. We decided to look through my grandma's cookbook. We found … [Read more...]